
The Monday morning meeting has just started, and you've been handed the job of taking notes on the whiteboard. You write the first point at the very top, your arm stretched high. By the time you turn back to the table, the right side of your shirt has already slipped out of your trousers. You tuck it back in while pretending to read your notes.
And yet, when you tried the shirt on in the shop, it felt like a good fit across the chest and shoulders. The trouble is where the armholes sit, a part of a shirt that almost nobody checks before buying.
What an Armhole Is and Why High or Low Matters
An armhole is exactly what it sounds like: the opening for your arm. On a shirt, you can find it by feeling for the seam that circles your underarm, where the sleeve is sewn onto the body. It can be cut high or low.
Plenty of people assume high armholes restrict movement because they feel tighter under the arm. It's actually the other way round. Because the join sits close to where your arm meets your body, the sleeve can lift without dragging the body of the shirt up with it.
A low armhole sits well below the armpit. With the join dropped that far, the sleeve and body behave almost like a single piece, so every time you raise your arm, the side of the shirt gets pulled up too.
Casual shirts often use this cut because it feels roomy, and for weekend hangouts it really is comfortable. For a work shirt, a higher armhole usually serves you better. At the office, your shirt is expected to stay tucked in from morning until late afternoon, including every time you reach for a folder or point at a screen.
One more thing: a shirt with a slim body doesn't necessarily have high armholes. Body width and armhole position are set by different parts of the pattern, so your first impression of a shirt on the hanger is no guide.
How to Do the Arm-Raise Test in Front of a Mirror
Put the shirt on the way you would for work. Tuck it in if that's what you normally do, and do up the buttons as far as you usually would. You can run the test in a shop fitting room, or in front of the mirror at home as soon as the parcel arrives.
Start by standing relaxed and noting where the bottom of the shirt sits. Then raise one arm to shoulder height or a little above, roughly as if you were writing on a whiteboard or reaching up for the handrail on a bus. Hold it for a few seconds, then switch arms.
That's it. You don't need any other gym moves, because this is the movement most likely to expose a work shirt's weak spot once you're out of the fitting room.
The test is most useful for shirts you'll wear for hours at the office, such as the Basic Oxford White Shirt.
Reading the Result: Does the Shirt Ride Up With Your Arm?
While your arm is up, all you need to watch is the bottom of the shirt.
A good result actually looks boring. The shirt barely shifts, or it lifts slightly and settles back into place when your arm comes down. That means your arm has room of its own, and a shirt like this is worth taking to the checkout.
It's a different story if the shirt rides right up and out of your trousers while you feel a pull under the arm. That's a sign the armholes are too low for everyday wear. When you lower your arm, you'll usually see spare fabric hanging below the armpit. That doesn't automatically make it a bad shirt. You'll just be tucking it back in again and again until it's time to go home.
If the shirt comes untucked but you feel no pull under the arm at all, check the length instead. A shirt with too short a body slips out of your trousers easily, however good its armholes are.
Armholes can also go too far the other way, cut so high that the seam digs into your armpit even when your arm is at rest. The right position feels close without pressing, and you can still reach forward freely without feeling the shirt pull across your back.
If you're still unsure, try another shirt with the same movement. Small differences are much easier to spot when you have something to compare against.
Armholes That Sit Too Low Are Hard for a Tailor to Fix
The next temptation usually goes like this: buy it anyway and have a tailor fix it later. With armholes, that plan rarely works. Raising an armhole needs extra fabric under the arm, and the fabric there has already been cut away. Taking apart the join between sleeve and body is also a big job, and it often costs more than the shirt itself.
It makes far more sense to try another size or cut while you're still in the fitting room.
Shopping on Your Phone? Read the Armholes in the Photos
You obviously can't do the arm-raise test through a screen. It's the photos you have to read.
Start with the shoulder seam. A seam that stops right where the shoulder bone ends usually points to an armhole cut close to the body. If the seam drops onto the upper arm, the armhole tends to drop with it.
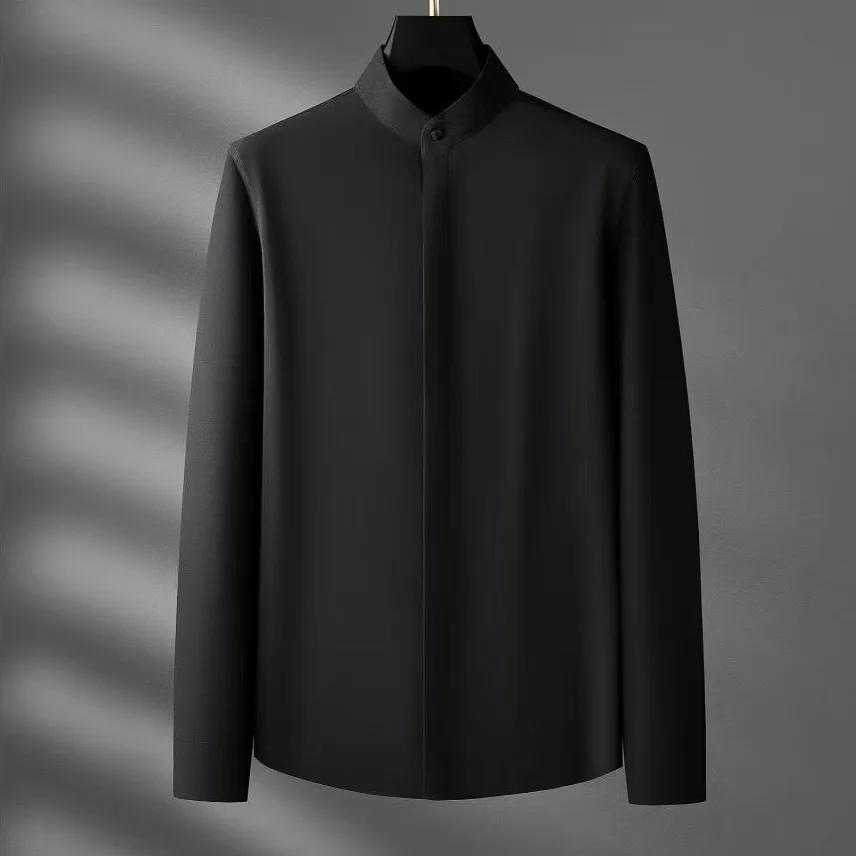
In model shots, look under the arm. If the fabric folds or balloons there, the armhole is probably low. Side and back views are the most honest about this, especially ones where the arm is held slightly away from the body. The Black Superfine Shirt page, for example, shows the model from the front, side and back, so you can judge how the fabric falls from several angles.
Sometimes a shirt is photographed without a model, as with the striped shirts in the Camden line, which are shown in full from the front and back. In shots like these, look at where the sleeve joins the body and how wide the sleeve is at the top. A join that sits well down the side, paired with a wide upper sleeve, means a low armhole.
The Camden size chart also lists shoulder width, and that figure comes in handy. Take the shirt you find easiest to move in, lay it flat, then measure from the left shoulder seam to the right. If the chart's figure is much bigger than what you measured, the shoulder seams will land on your upper arms, and the armholes will usually drop with them.
Save that measurement in your phone's notes. The next time a new shirt catches your eye, just compare the numbers before you pay.